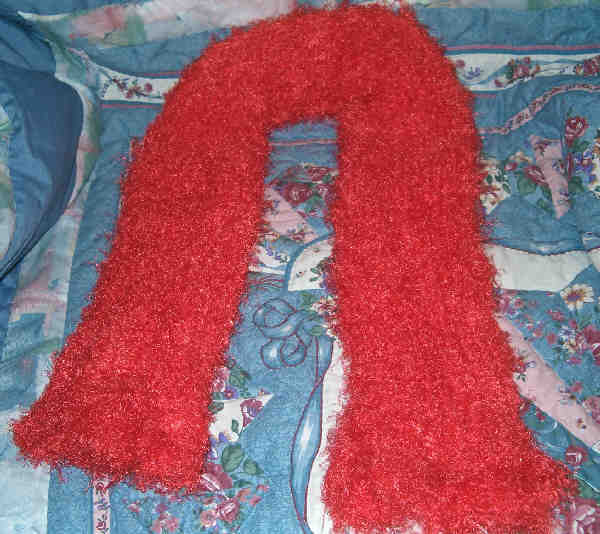
K2P1 Board Baby Ghan
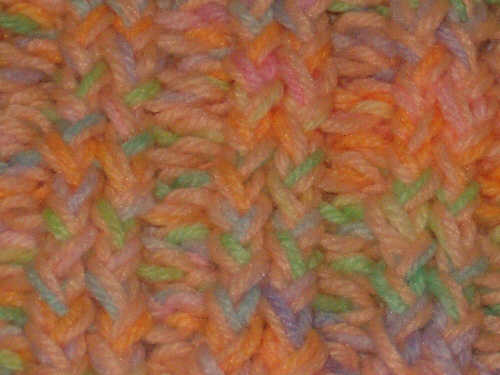


Here are some pictures of the K2P1 baby ghan I am doing on the same board as the K2P2 was worked on.
Labels: Loom Knitting
posted by Amoonsinger at 11:46 PM
|
0 comments
![]()
![]()
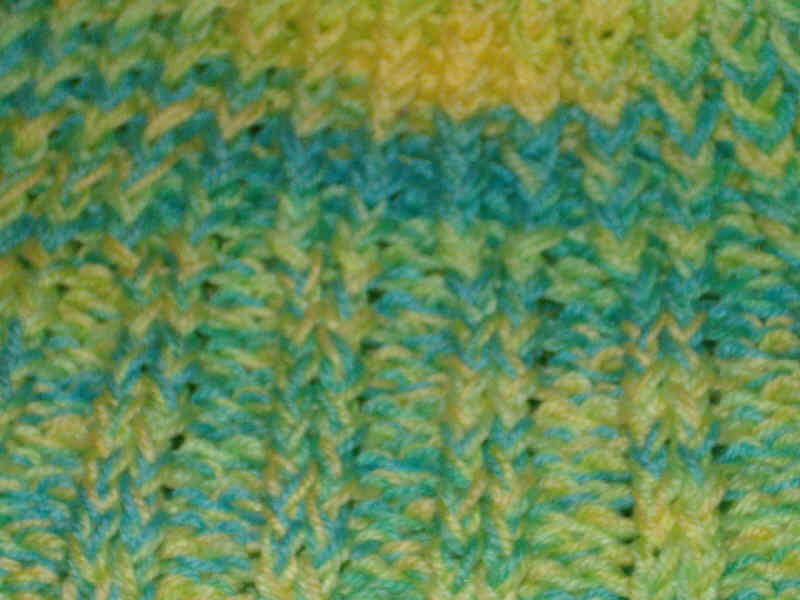
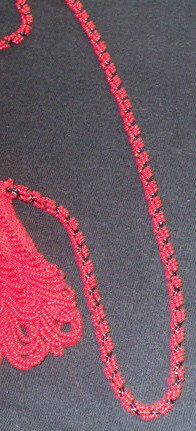
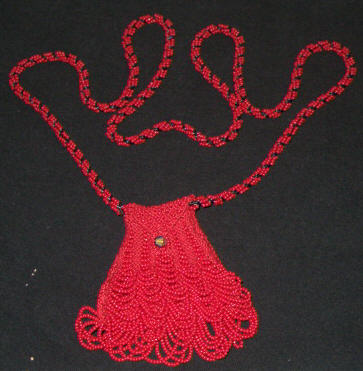
I like to do different crafts dealing with yarn, polycord and thread. Creating something to give to loved ones and seeing the smiles makes it all the more fun. "When there's a single thief, it's robbery. When there are a thousand thieves, it's taxation." ~Vanya Cohen

Labels: Loom Knitting
posted by Amoonsinger at 11:46 PM
|
0 comments
![]()
![]()
Labels: Loom Knitting
posted by Amoonsinger at 11:30 PM
|
0 comments
![]()
![]()
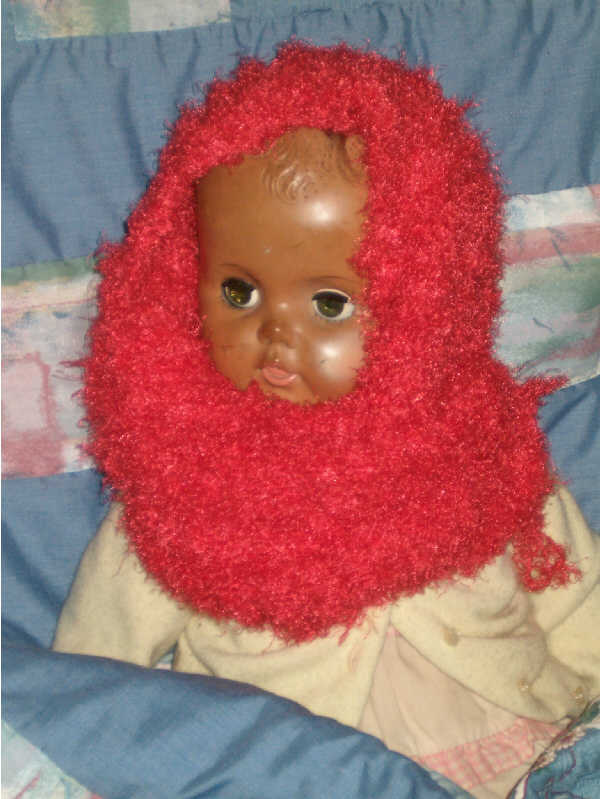
All the ends were hidden and the section for the hat sewn up and I though it was ready to go, but I wasn't happy with the hood part. It seemed to be fitting funny. So I worked last night to take out about an inch of the bottom section where I sewed it to make the hood. Now it seems to sit much better. You know I do a good job of hiding those ends. It took me more then an hour to find one of them without messing up the stitches where they were hidden. I was proud of myself, but angry with myself at the same time. I shouldn't have hidden the ends till I was absolutely sure that I was finished. I had a doubt and I didn't listen to myself. For shame, for shame on me.
Labels: Loom Knitting
posted by Amoonsinger at 7:44 AM
|
0 comments
![]()
![]()
I finished a hooded scarf and seamed it differently then I normally would. I tried a simple seaming that seems to have worked quite well. I like how thick this came out but I think that next time I will make some changes over the way this was made, but oh what a wonderful cold weather scarf/hood this is going to make for someone. I don't have a picture yet, but maybe tomorrow. It has to be mailed out this week.
Labels: Loom Knitting
posted by Amoonsinger at 10:03 PM
|
1 comments
![]()
![]()

Labels: Knit
posted by Amoonsinger at 10:35 AM
|
2 comments
![]()
![]()


Labels: Knit
posted by Amoonsinger at 10:05 AM
|
2 comments
![]()
![]()
Just a quick post to say it's a boy. The DIL just got back from the doctors office and we are going to get another grandson. Oh we so wanted a girl, even the two older brothers wanted a sister. Oh well, such is life. I sort of figure this one was going to be a boy also. As long as it is healthy then that's what matters the most.
Labels: Bits and Pieces
posted by Amoonsinger at 10:40 AM
|
0 comments
![]()
![]()

Labels: Just for Fun
posted by Amoonsinger at 10:46 AM
|
0 comments
![]()
![]()
I have had several people ask me for the pattern to the baby bunting. Well, I never wrote one. The section below is the closest that I can come to letting you know how to do the bunting. Remember this is a combination loomed knitted, needle knitted, and crocheted piece. In this close up you can see the knitted front panel and see how much different it is then the body section.
Labels: Loom Knitting
posted by Amoonsinger at 4:29 PM
|
0 comments
![]()
![]()
Labels: Loom Knitting
posted by Amoonsinger at 4:18 PM
|
2 comments
![]()
![]()


Labels: Loom Knitting
posted by Amoonsinger at 4:04 PM
|
0 comments
![]()
![]()
posted by Amoonsinger at 11:28 PM
|
0 comments
![]()
![]()
Labels: Loom Knitting
posted by Amoonsinger at 5:42 PM
|
0 comments
![]()
![]()

Labels: Loom Knitting
posted by Amoonsinger at 9:11 AM
|
0 comments
![]()
![]()
Labels: Loom Knitting
posted by Amoonsinger at 9:09 AM
|
0 comments
![]()
![]()

I am a wife, mother, grandmother. As a child the only thing I would tell people when they asked what I wanted to be when I grew up was a mother. My pick of the best job around. It has not always been easy but I would not change any of it. I have four wonderful children, four extra wonderful children that I inherited along the way, and oddles of grandchildren with more on the way. Ain't it grand.

No affilation with any of the vendors listed.
For your information only.