Fingerless mitten slanted knit stitch

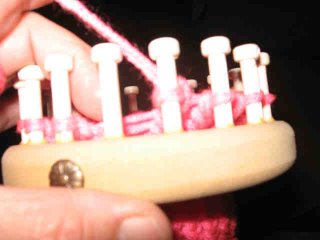
The loom has been wrapped and worked off for the first row of the thumb. Now I am ready to start back but to prevent that funky slanted stitch, I am going to do a knit stitch, only it is going to be a twisted knitted stitch as you will see. See where the yarn is at the last peg I knitted. I will be starting with that peg.
 Here you see the starting of the wrap. The working yarn is above the stitch on the peg.
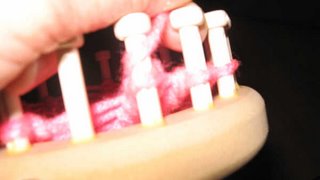
 Pull the working yarn down through the stitch to form a large loop to grab and hold. Now lift the stitch off the peg. *seen in next photo
 Here the stitch has been made and lifted off the peg. As it is being held if it was to be put back on the loom as is, it would be a knit stitch. We are going to make it a twisted knit stitch.
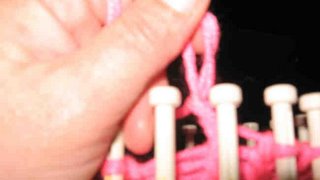
See how I am laying the stitch over on it's side. You want to cause a little twist in the stitch to match the slant of the previous rows stitch slants. So what you have to do is lay that stitch on it's side and place the back side of the knitted stitch on the peg. This forms that little slant just like an ewrapped stitch going in the clockwise direction around the loom.
If you normally knit counterclockwise around the loom you will want to do a different twist to get the same slant. The reason I developed this method for my flat row portion of the mitten was so not to have two angles to my stitches.
Sorry the pictures are not the greatest. It is hard to hold a loom and take pictures at the same time. I did use a tripod but even that is not easy. I did the best I could so I hope you are able to understand.
Labels: Loom Knitting


0 Comments:
Post a Comment
<< Home